So how does one spend their Saturday you ask – – drawing various Outdoor Kitchen Designs of course. In my first installment I mentioned I spent a lot of hours as a child with my dad’s T-Square and a drafting board across my lap. Well today I took out my graph paper (my very good friend Jennifer bought for me – thank you) and sat down with my pencil, scale and eraser! And here I am 3 designs later with the inspiration for my weekly blog.
Andy and I have been discussing the elements of an outdoor kitchen since the inception of this project. I can imagine myself sitting under the large grove of trees with Andy flipping burgers to the laughter of our friends or sipping wine while a pizza bakes in the Wood Fired Oven. The equipment has changed several times but the Wood Fired Oven has remained a constant.
One of the greatest benefits of an outdoor kitchen is that it extends your outdoor living and entertaining space. As we were considering our design we made several trips out to the site to take in our new surroundings. As we brainstormed our design and space I needed to consider the Farmhouse feel of the home’s exterior. The colors and textures selected are meant to compliment the style. Our design is taking advantage of the slanted tin roof that will provide shade to the overall structure.

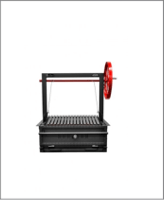
Next we needed to decide what appliances we would like to build into our outdoor kitchen. There are so many choices and this needs to be a very personal choice. We needed to think through how we were going to use the space. Andy initially started with the thought that we should have a commercial range in our kitchen – – He just loves Guy Fieri’s outdoor kitchen on Diners, Drive-Ins and Dives! (side note: we have visited many over the years) We nixed the commercial range but we will have a small gas grill, a small Santa Maria BBQ Grill by Sunterra Outdoor and the BBQ Pit Boys, and a Wood Fired Oven. In addition, Andy has a Big Green Egg x 2 we will bring into the mix. The appliances drove our layout.

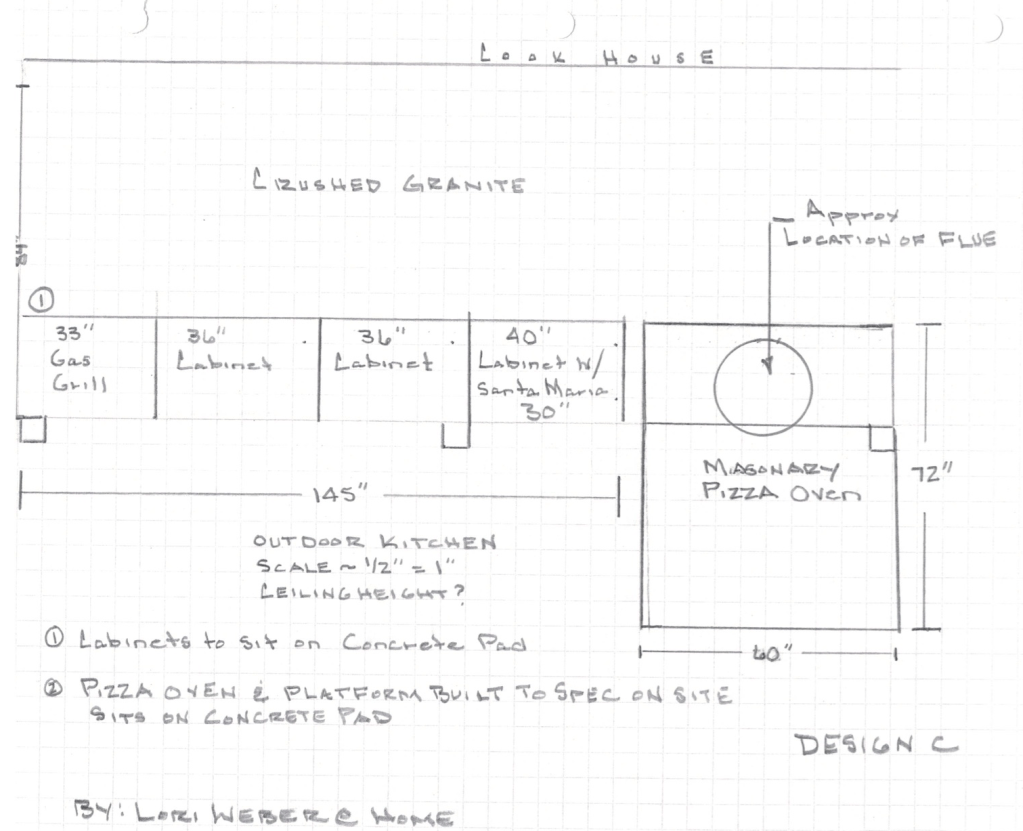
Layout is just as important in an outdoor kitchen as it is for an indoor one. There were other considerations for our outdoor kitchen as well. As we planned to use the space outside of the “Cook House” we needed to consider how close the appliances would be to the building and how the surrounding trees might impact the design. For this reason we placed the appliances on the opposite side of the building wall. The cabinets will be placed on a concrete slab and the Wood Fired Oven has been planned at the end of the run away from the house and the trees. The “walkway” will be crushed granite for any spills that may occur. Note: we have included 64” of stainless steel countertop for food prep. A small under counter refrigerator will be inside the Cook House to house all of the cold beverages required while cooking! We have decided to outfit the Cook House with Knotty Alder lower cabinets. This will provide much needed storage for all of the BBQ tools and Sauces.


By following these three easy steps below, you’ll be well on your way to creating an inviting outdoor kitchen of your own.
- Are you extending your Living Space?
- What’s Important to you? Pick your appliances
- What Layout works for your design?
Now all that is left is to get this outdoor kitchen built, so that we can plan that Party! Cheers until next week.

I pick B! Betsy King – Cactus Stone & Tile
LikeLike
Betsy thank you for your input. I am traveling to the site this week and working with Pristine Pools on the landscaping concept this week to finalize the design. I will let everyone know how it works out.
LikeLike